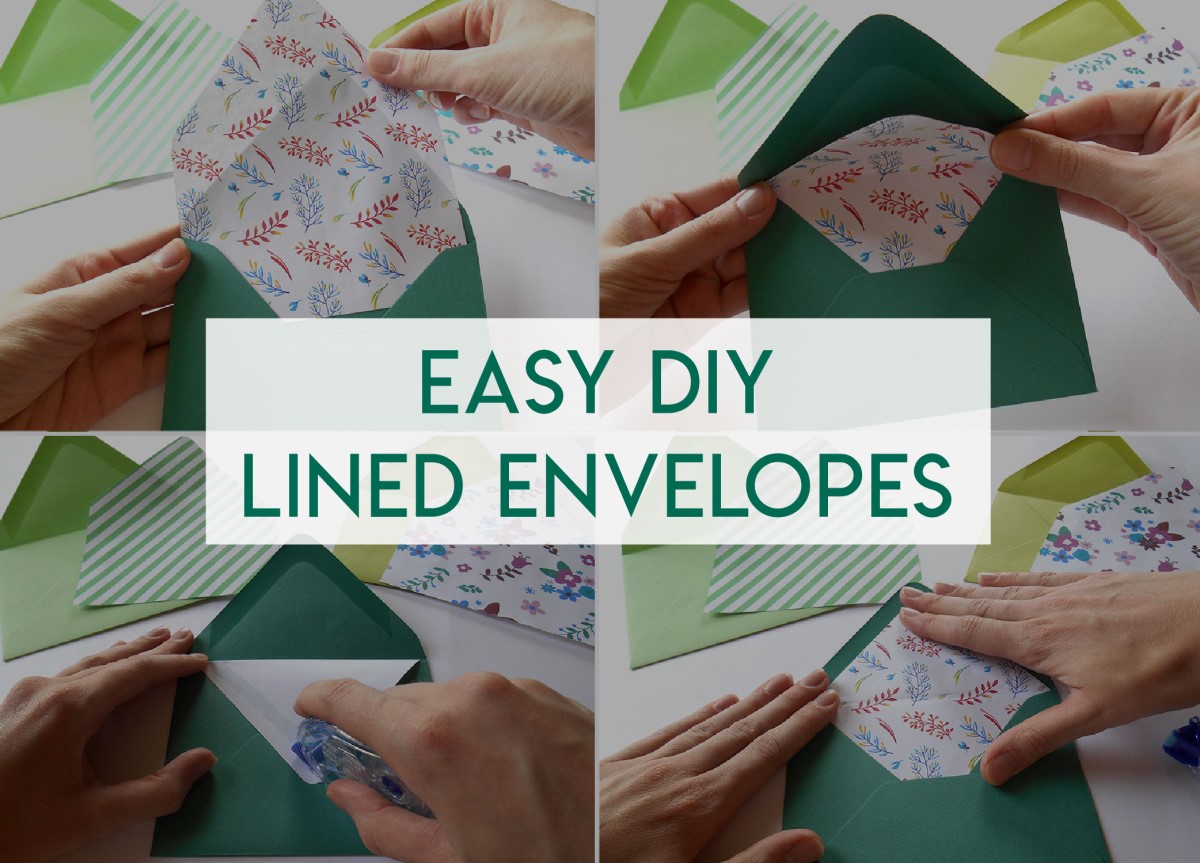
There’s something about a nice colored envelope with a decorative envelope liner that can really take your stationery from boring to beautiful! But lined envelopes can be expensive to buy, and you might have trouble finding one that suites your style perfectly. So why not make your own?
It may seem complicated and a bit daunting at first, but when you really get down to it, making your own envelope liners can be easy! Plus, you’ll be able to personalize your liners with your own text or artwork, making your envelopes even more special.
Once you’re ready to dive in, just follow along with these step-by-step instructions!
1. Determine the Size of Liner You’ll Need
Envelopes come in an array of sizes and shapes, so you’ll want to start by making sure you have the correct size template that will fit perfectly inside of your envelope. Common envelope sizes for cards and invitations include:
- 4-bar (3 5/8″ x 5 1/8″)
- A2 (4 3/8″ x 5 3/4″)
- A7 (5 1/4″ x 7 1/4″)
Envelopes can also have a square-shaped flap or a pointed flap, sometimes called Euro-flap. Before making a liner, confirm the size and shape of your envelopes.
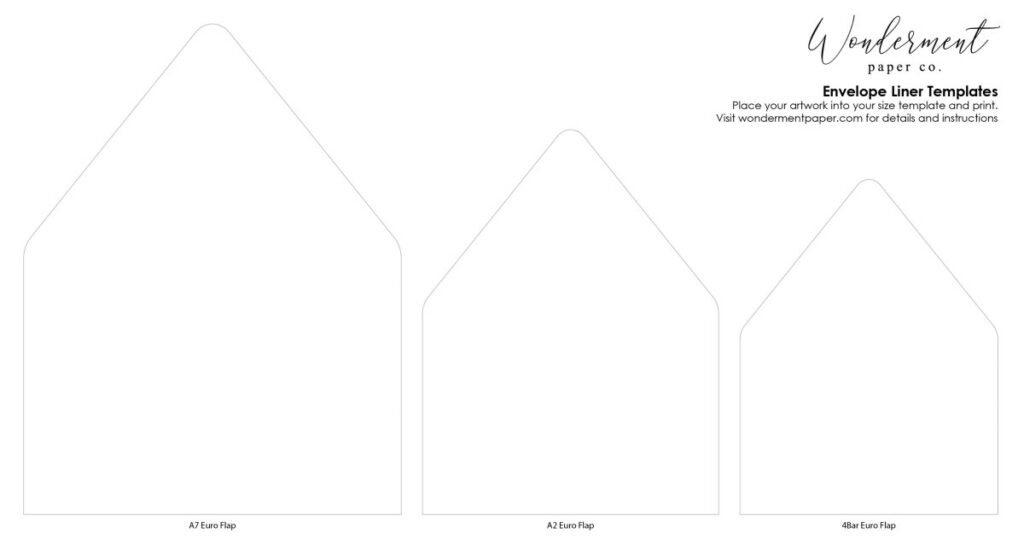
2. Create an Envelope Liner Template
After confirming the size you’ll need, you will need to create a template that can be used for cutting out your envelope liners. The type of template you use will depend on what type of liner you’re creating.
If you have specialty paper you want to use for your liners, you’ll want to cut out a physical liner template out of scrap paper or cardstock to use as a stencil. If you’re using design software to create a patterned or custom envelope liner design, you can use a digital template.
Free Template Download: For this project, I’ve provided pre-made digital liner templates for 6 of the most common envelopes, for free! Click here to download the PDF.
If you can’t find a template to match the size of your envelope, don’t worry! You can create one yourself. If you’re making a physical template, simply trace over the area where your liner should fit, then cut out your template out of card stock. Be sure to leave room to seal the envelope – your liner should not cover the sealing strip inside the envelope flap.
If you’re making a digital template, measure the width of the envelope, the height of the envelope when closed, and the height with the flap open, from the bottom to just below the gummed seal strip. You can then use these measurements to help you create a custom shape in your design software that will fit your envelope.
3. Designing a Custom Envelope Liner Using Design Software
Once you have a digital liner template in the correct size and shape for your envelope, just open or place it into your preferred design software and ensure the size is at 100% scale. I recommend using Adobe Illustrator or Canva, but you could even use something like Microsoft Word or Publisher if you prefer.
Depending on the software you’re using, your template can either be used as a vector with a light stroke, or you can simply leave the template image as is and place your graphics on top.
Add your Artwork into the Digital Template
This is the fun part! Now that your template is all set up, you can begin creating or placing the artwork over the template. In this example, I used some graphics that I purchased from Creative Market to make seamless patterns that I placed onto the liner template. I’ve linked to the specific graphic packs I used below!
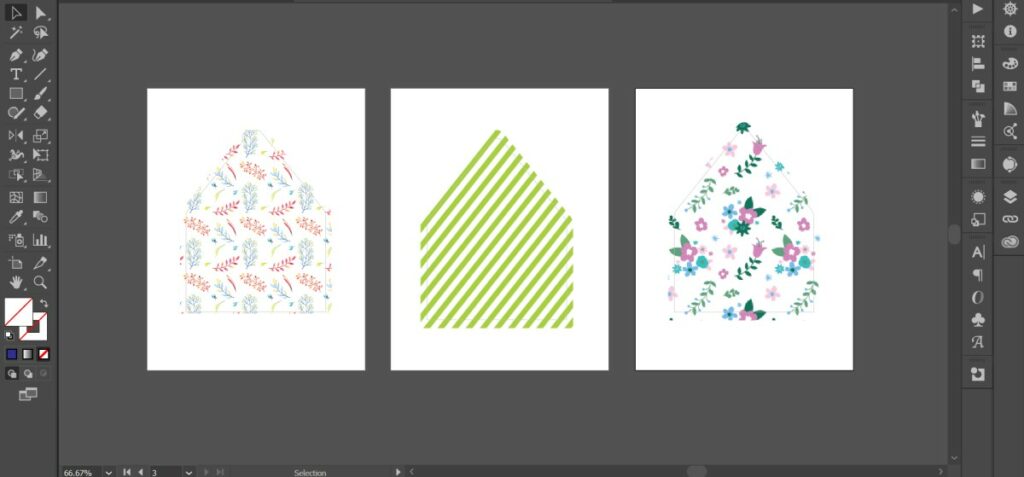
You can also use simple shapes like lines or dots to cover the template area. Feel free to add whatever graphics, shapes, colors, or text you want! That’s the beauty of making your own liners – you have full control over the outcome!
Make sure as you place your graphics that they fill the outlined area defined by your liner template. If you’re using a software program with layers, such as Illustrator, you may want to place your artwork in a layer below the outline, so that you can still see the outline when you’re cutting it out.
Pro tip: it’s a good idea to allow your artwork to extend beyond the outline just slightly, so that when it’s cut out, you won’t have to worry about those pesky thin white lines along the edges that appear when your scissors deviate from the outline. This is called a “bleed” in designer-speak!
Graphic Packs used to create these designs:
Watercolor Boho Graphics Set
4th of July Flowers and Wreaths Clipart Set
4. Print Your Liners and Cut them Out
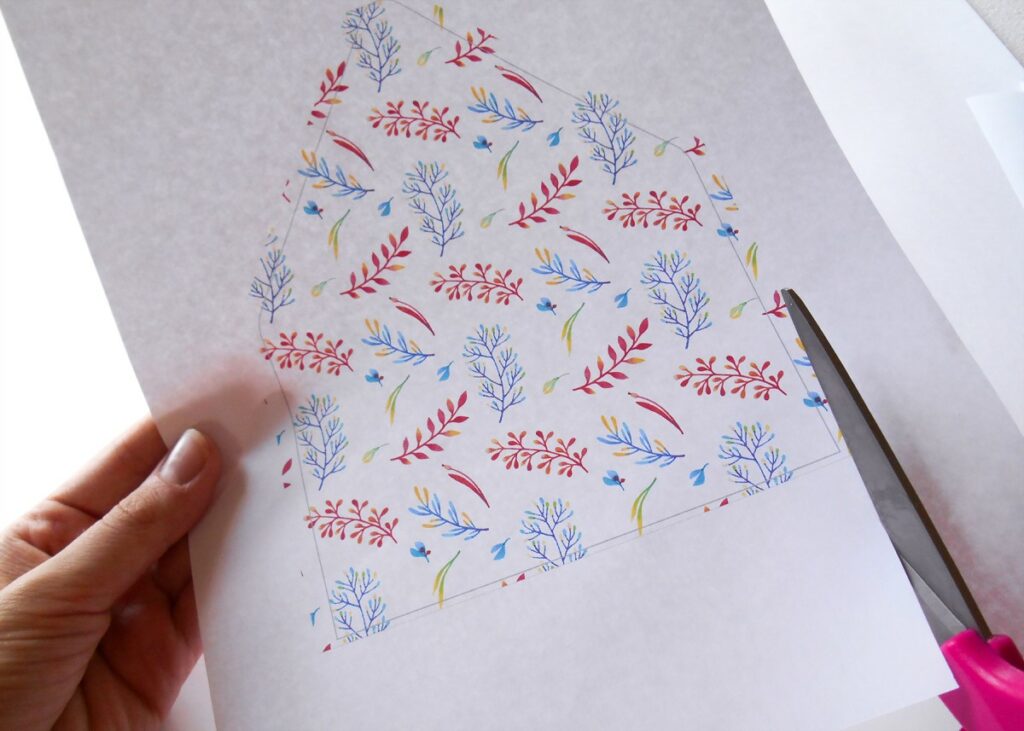
Once you’re happy with the layout of your design on your liner template, save the file as a PDF and print them out. Make sure they’re printing at the actual size, and not stretched or distorted to fit the page.
It’s okay to use regular printer paper for these; in fact, thinner paper generally works better than a thick card stock, because it will be easier to fold and fit into the envelope.
Once printed, use scissors or a cutting tool to carefully cut along the thin outline from your template.
5. Place the Liner in the Envelope, Fold, and Glue
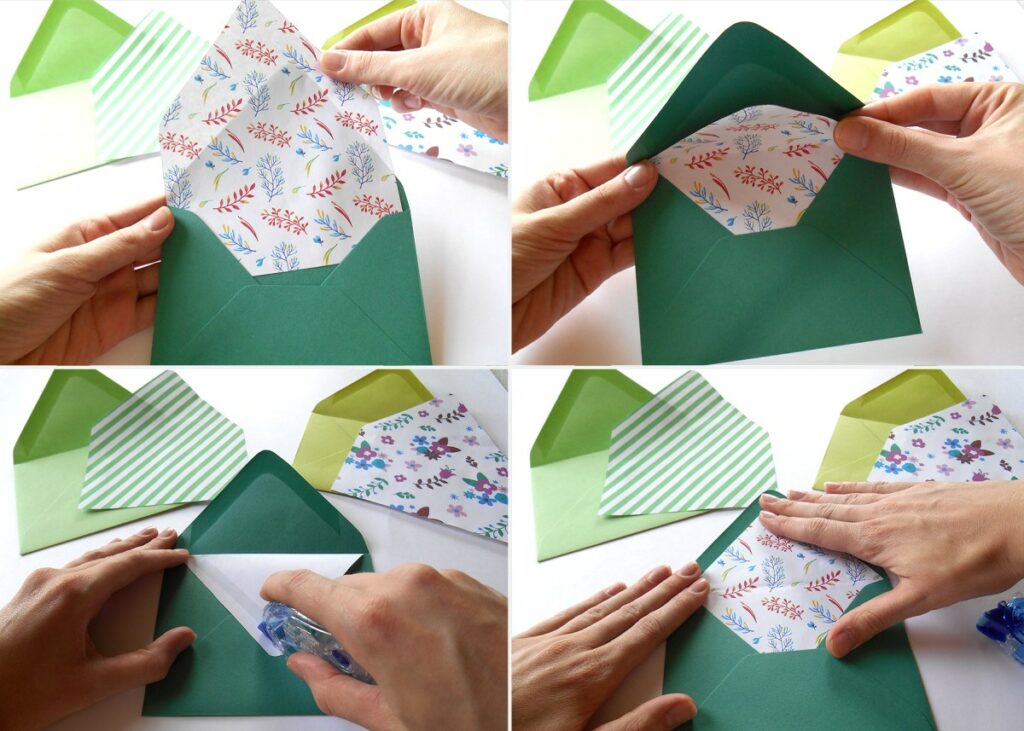
Once the liners have been cut, gently place them into the envelope to ensure a good fit. The liners should be slightly less wide than the envelope itself, and should leave enough room along the edge of the flap to seal the envelope. If the fit looks correct, carefully hold the liner in place as you fold the flap down, and press to create a crease in the liner.
Next, you’ll need to adhere the liner to the envelope using a glue or adhesive. I used a Tombow Permanent Adhesive Roller, which makes this part super easy! I love this tool because there’s no mess, the sticky tape rolls on easily, and sticks very well.
There’s no real need to place any glue on the base of the liner, just behind the flap section. This should hold the liner securely without creating any bubbles or air pockets underneath. With your fingers holding the liner in place at the base of the flap, place a small dot or strip of adhesive on the back of the liner flap area, along the edges and at the top. Press the liner back down on the envelope firmly to make the glue stick. Give it a moment to dry before folding the envelope again.
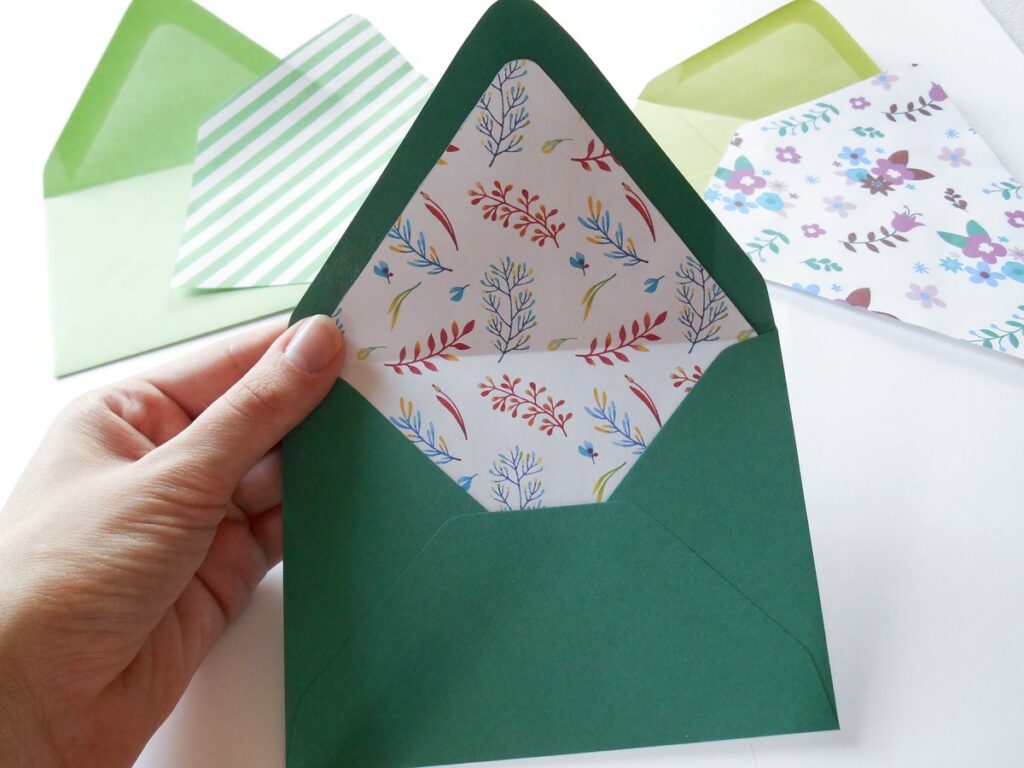
And that’s it! You’ve created your very own lined envelope! It wasn’t too difficult, was it? You can use these liners for greeting cards, invitations, and more. Lined envelopes are always a really nice touch in any stationery, adding just the right amount of detailed flair!
If you have any questions or comments about this tutorial, leave a comment below. Thanks for reading! Happy DIY-ing!